Table of Contents
SolarWinds Network Topology Mapper is an essential tool for network administrators who need to maintain a thorough understanding of their network infrastructure. The software helps to map out the network topology, making it easier to identify and resolve issues quickly. In this article, we’ll go over how to use SolarWinds Network Topology Mapper effectively, including installation, configuration, and usage.
Step 1: Installation
The first step to using SolarWinds Network Topology Mapper is installing the software. Before you begin, ensure that your system meets the minimum requirements outlined by SolarWinds. Once you have confirmed your system meets the requirements, follow these steps to install the software:
Download the installation package from the SolarWinds website.
Launch the installer and follow the on-screen instructions.
Choose the components you want to install and configure the installation location.
Select the database options that best suit your needs and follow the on-screen instructions to complete the installation.
Step 2: Configuration
Once you have installed the software, the next step is to configure it to meet your needs. Here are the steps to configure the software:
Launch the Network Topology Mapper.
Configure the discovery options to scan your network.
Choose the network devices you want to include in the scan.
Configure the credentials needed to access each device on the network.
Set the scan options, such as the frequency of scans and the number of threads used for the scan.
Set the storage options, such as the location where the data will be stored.
Step 3: Usage
Now that you have installed and configured the SolarWinds Network Topology Mapper, it’s time to start using it. Here are the steps to use the software:
Launch the Network Topology Mapper.
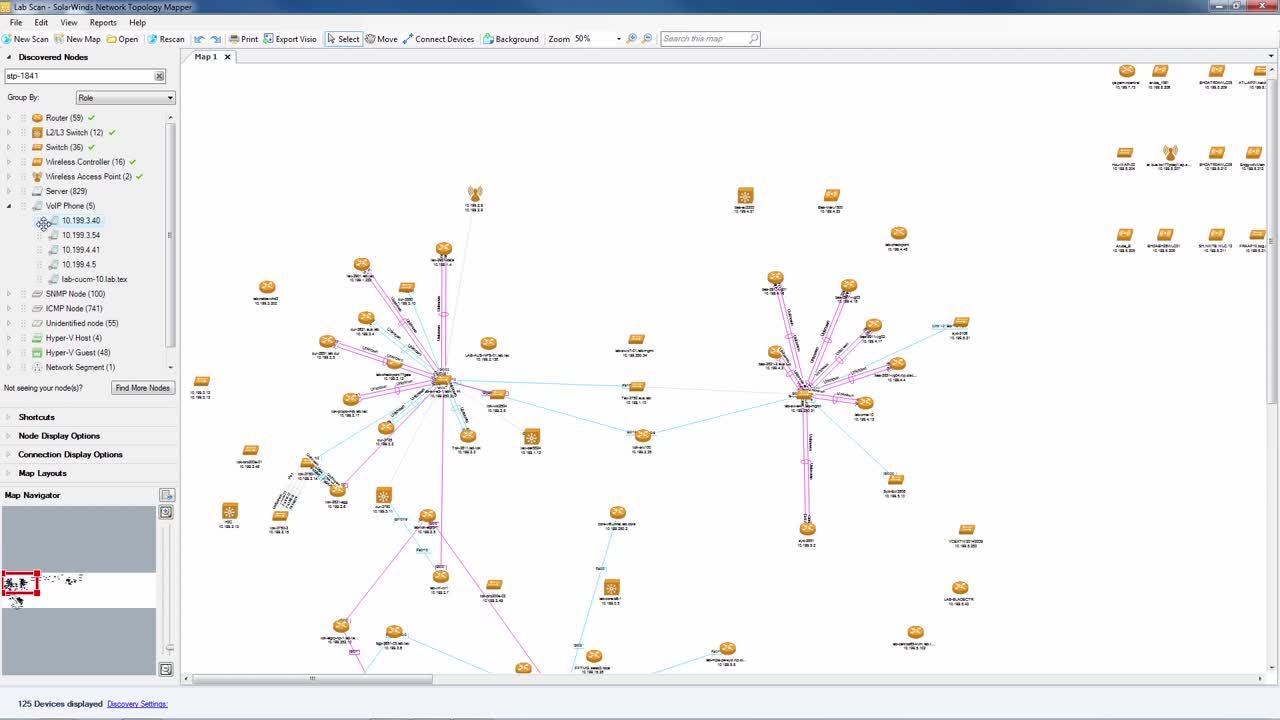
Start a new scan by clicking the “New Scan” button.
Configure the scan options, such as the devices to scan and the credentials needed to access them.
Run the scan and wait for the results.
Review the results and explore the network topology using the visualization tools provided by the software.
Identify any issues and take corrective actions as needed.
Tips for Using SolarWinds Network Topology Mapper
Here are some tips to help you use SolarWinds Network Topology Mapper more effectively:
Use the discovery options to limit the scope of your scans. This will help to reduce the amount of data you need to process and make it easier to identify issues.
Make sure to configure the credentials correctly. This will ensure that the software can access all devices on the network and provide accurate results.
Set the scan options to suit your needs. For example, if you have a large network, you may want to set the number of threads to a high number to speed up the scan.
Review the results regularly to identify any issues that may arise. This will help you to take corrective action before they become major problems.
SolarWinds Network Topology Mapper is an essential tool for network administrators who need to maintain a thorough understanding of their network infrastructure. By following the steps outlined in this article, you can install, configure, and use the software effectively. Remember to review the results regularly and take corrective action as needed to keep your network running smoothly.
Also, read Cassandra DB pros and cons


